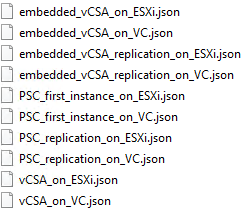
While redeploying my homelab I decided to do the vCSA installation using the CLI. After you download the vCSA ISO go to vcsa-cli-installer/templates/install/ and choose the one that your need.
You will need to copy to your local system and edit the json file according to your settings.
This is how the embedded_vCSA_on_ESXi template looks:
 {

"__version": "2.13.0",

"__comments": "Sample template to deploy a vCenter Server Appliance with an embedded Platform Services Controller on an ESXi host.",

"new_vcsa": {

"esxi": {

"hostname": "<FQDN or IP address of the ESXi host on which to deploy the new appliance>",

"username": "root",

"password": "<Password of the ESXi host root user. If left blank, or omitted, you will be prompted to enter it at the command console during template verification.>",

"deployment_network": "VM Network",

"datastore": "<A specific ESXi host datastore, or a specific datastore in a datastore cluster.>"

},

"appliance": {

"__comments": [

"You must provide the 'deployment_option' key with a value, which will affect the VCSA's configuration parameters, such as the VCSA's number of vCPUs, the memory size, the storage size, and the maximum numbers of ESXi hosts and VMs which can be managed. For a list of acceptable values, run the supported deployment sizes help, i.e. vcsa-deploy --supported-deployment-sizes"

],

"thin_disk_mode": true,

"deployment_option": "small",

"name": "Embedded-vCenter-Server-Appliance"

},

"network": {

"ip_family": "ipv4",

"mode": "static",

"ip": "<Static IP address. Remove this if using dhcp.>",

"dns_servers": [

"<DNS Server IP Address. Remove this if using dhcp.>"

],

"prefix": "<Network prefix length. Use only when the mode is 'static'. Remove if the mode is 'dhcp'. This is the number of bits set in the subnet mask; for instance, if the subnet mask is 255.255.255.0, there are 24 bits in the binary version of the subnet mask, so the prefix length is 24. If used, the values must be in the inclusive range of 0 to 32 for IPv4 and 0 to 128 for IPv6.>",

"gateway": "<Gateway IP address. Remove this if using dhcp.>",

"system_name": "<FQDN or IP address for the appliance. Remove this if using dhcp.>"

},

"os": {

"password": "<Appliance root password; refer to --template-help for password policy. If left blank, or omitted, you will be prompted to enter it at the command console during template verification.>",

"ntp_servers": "time.nist.gov",

"ssh_enable": false

},

"sso": {

"password": "<vCenter Single Sign-On administrator password; refer to --template-help for password policy. If left blank, or omitted, you will be prompted to enter it at the command console during template verification.>",

"domain_name": "vsphere.local"

}

},

"ceip": {

"description": {

"__comments": [

"++++VMware Customer Experience Improvement Program (CEIP)++++",

"VMware's Customer Experience Improvement Program (CEIP) ",

"provides VMware with information that enables VMware to ",

"improve its products and services, to fix problems, ",

"and to advise you on how best to deploy and use our ",

"products. As part of CEIP, VMware collects technical ",

"information about your organization's use of VMware ",

"products and services on a regular basis in association ",

"with your organization's VMware license key(s). This ",

"information does not personally identify any individual. ",

"",

"Additional information regarding the data collected ",

"through CEIP and the purposes for which it is used by ",

"VMware is set forth in the Trust & Assurance Center at ",

"http://www.vmware.com/trustvmware/ceip.html . If you ",

"prefer not to participate in VMware's CEIP for this ",

"product, you should disable CEIP by setting ",

"'ceip_enabled': false. You may join or leave VMware's ",

"CEIP for this product at any time. Please confirm your ",

"acknowledgement by passing in the parameter ",

"--acknowledge-ceip in the command line.",

"++++++++++++++++++++++++++++++++++++++++++++++++++++++++++++++"

]

},

"settings": {

"ceip_enabled": true

}

}

}
After you edit the file this is how it should look like
"__version": "2.13.0",

 "__comments": "Sample template to deploy a vCenter Server Appliance with an embedded Platform Services Controller on an ESXi host.",

 "new_vcsa": {

 "esxi": {

 "hostname": "192.168.1.17",

 "username": "root",

 "password": "Passw0rd!",

 "deployment_network": "Management Network",

 "datastore": "DataStore01"

 },

 "appliance": {

 "thin_disk_mode": true,

 "deployment_option": "small",

 "name": "vcsa"

 },

 "network": {

 "ip_family": "ipv4",

 "mode": "static",

 "ip": "192.168.1.20",

 "dns_servers": [

 "192.168.1.10"

 ],

 "prefix": "24",

 "gateway": "192.168.1.1",

 "system_name": "vcsa.mdc.local"

 },

 "os": {

 "password": "Passw0rd!",

 "ntp_servers": "192.168.1.1",

 "ssh_enable": true

 },

 "sso": {

 "password": "Passw0rd!",

 "domain_name": "vsphere.local"

 }

 },

 "ceip": {

 "description": {

 "__comments": [

 "++++VMware Customer Experience Improvement Program (CEIP)++++",

 "++++++++++++++++++++++++++++++++++++++++++++++++++++++++++++++"

 ]

 },

 "settings": {

 "ceip_enabled": true

 }

 }

}
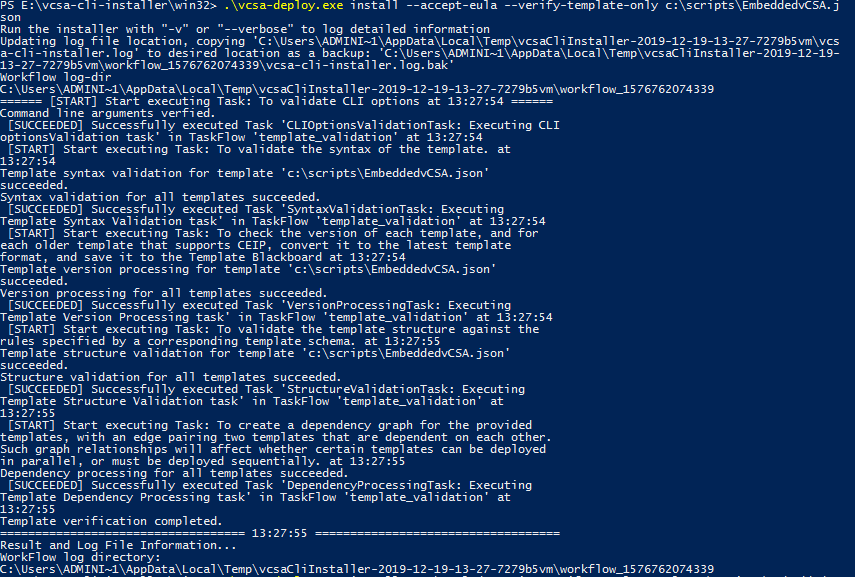
You can check that template is ok without installing running PS E:\vcsa-cli-installer\win32>.\vcsa-deploy.exe install –accept-eula –verify-template-only c:\scripts\EmbeddedvCSA.json
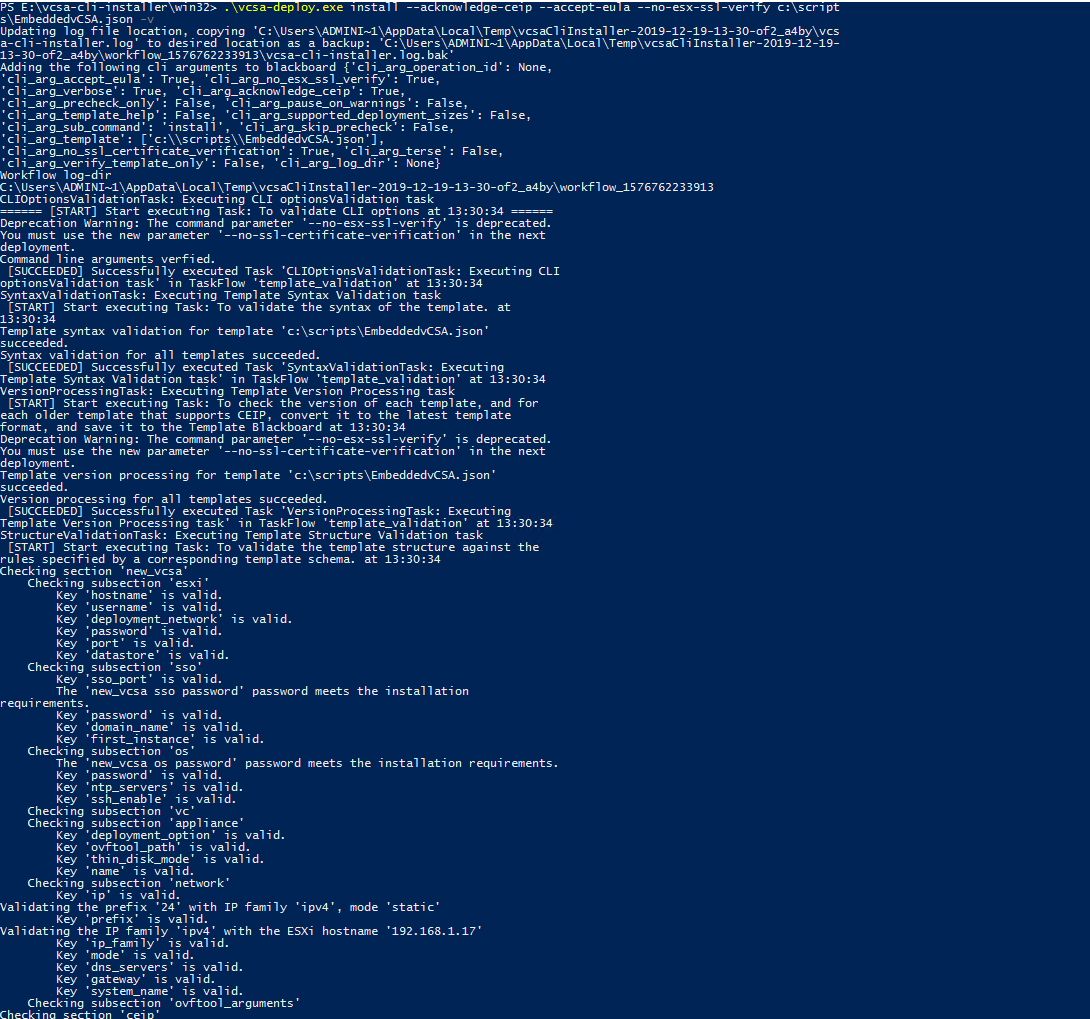
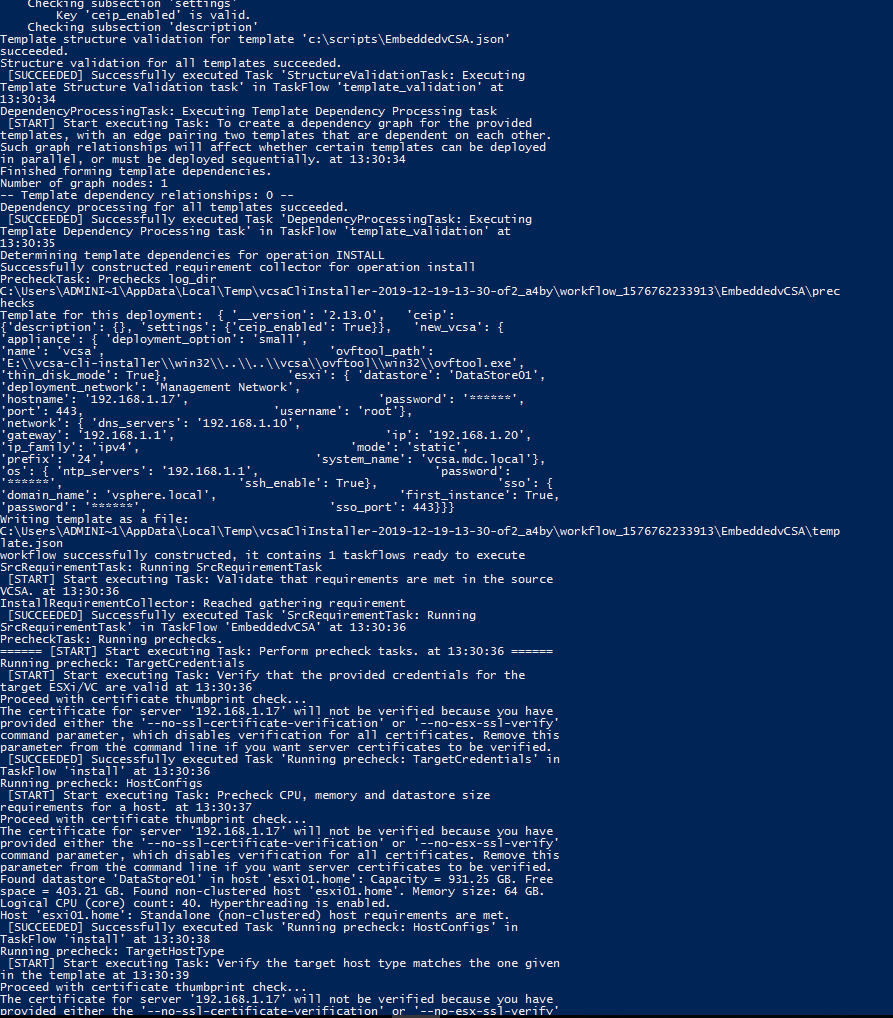
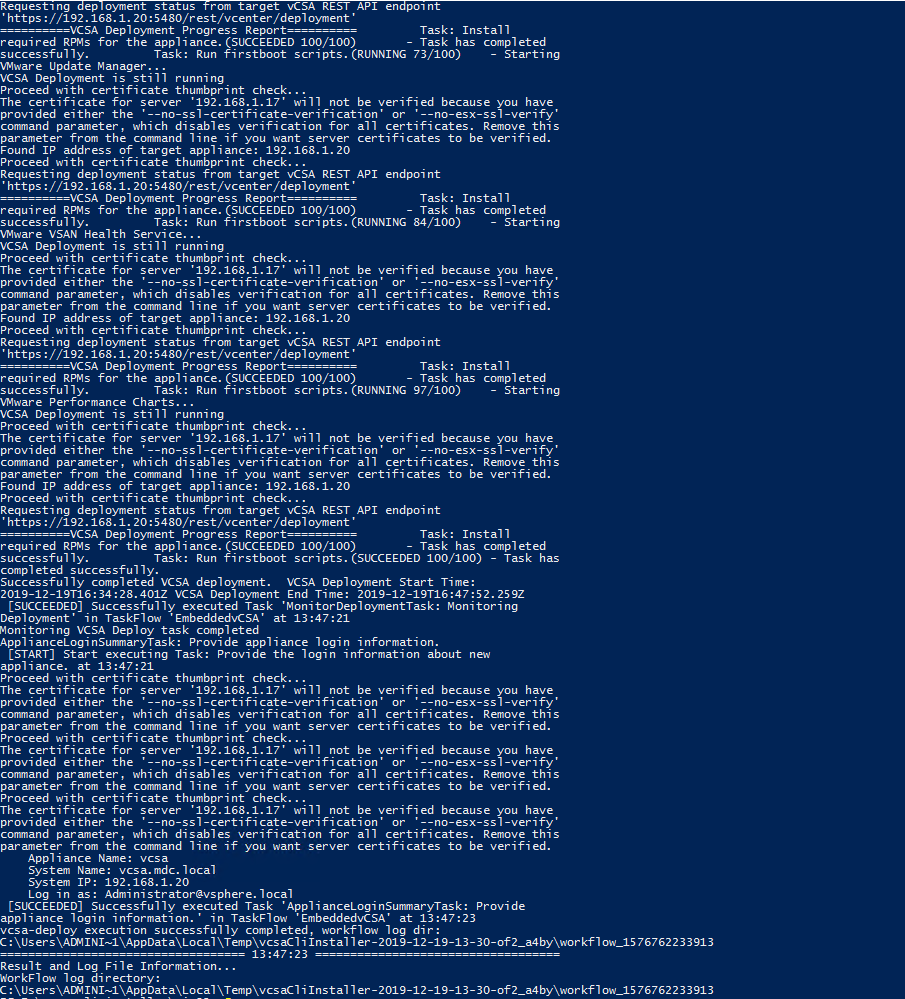
Once the test finish and all is good you can run the installation using the following command PS E:\vcsa-cli-installer\win32> .\vcsa-deploy.exe install –acknowledge-ceip –accept-eula –no-esx-ssl-verify c:\scripts\EmbeddedvCSA.json -v
Once the installation is finished you can log in vCenter and start the configuration.
Using the CLI installation will save you time for future installations.
Be First to Comment