Microsoft announced and presented at Ignite Conference the Nano Server Image Builder tool which helps you create a Nano Server image and a bootable USB media. The tool was released last week, so now we have two options for creating a Nano Server image, powershell and Image Builder.
Here are some of the things that you can configure with the Nano Server image:
- Select server roles to install
- Add device drivers to install
- Set machine name, administrator password, time zone
- Join the machine to domain
- Configure the network settings
- Create an ISO image
Before you download and install the Nano Server Image Builder you will have to install first the Windows Assessment and Deployment Kit (ADK).
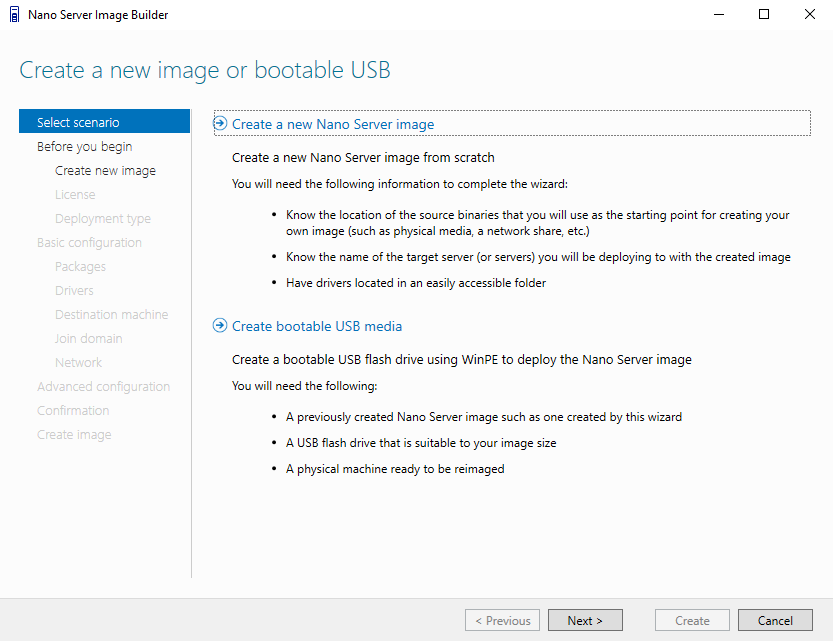
The first step is to choose if you want to create a Nano Server Image or a Bootable USB Media.
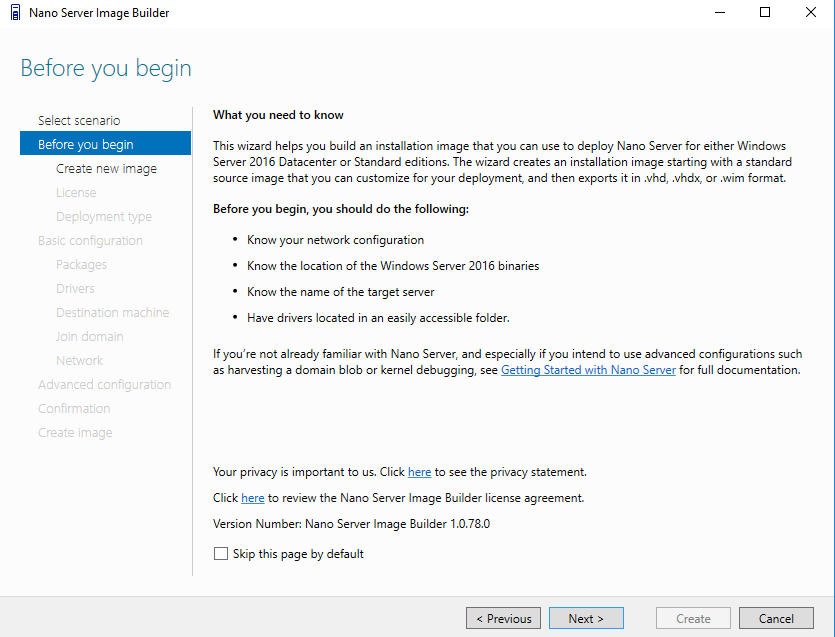
Before you start you should have prepared the Windows Server 2016 ISO and drivers needed.
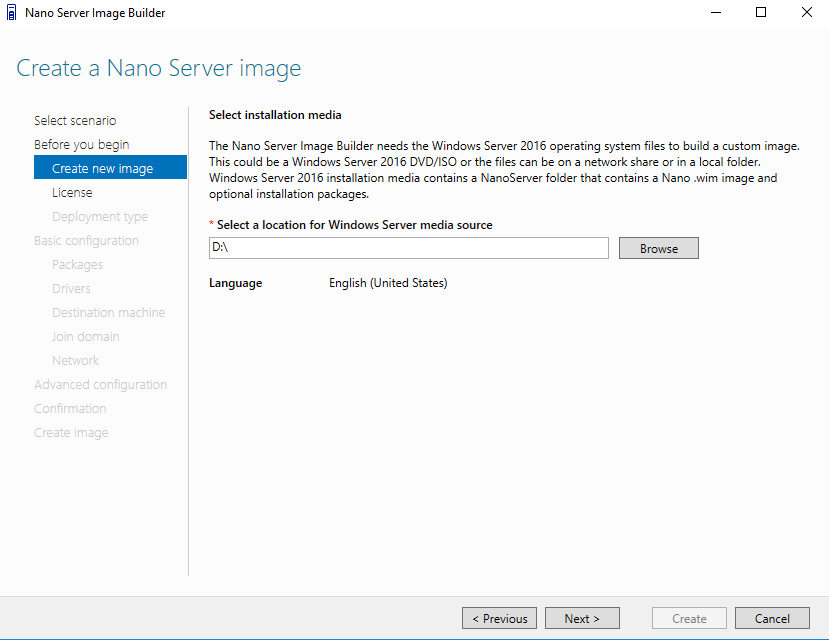
Then you have to select where the Windows Server 2016 image source is
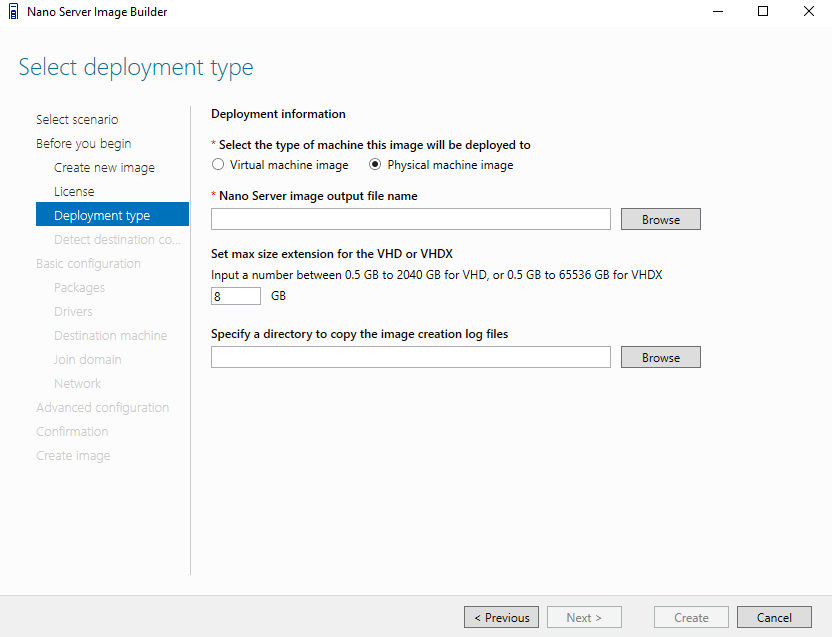
After that you will have to review license terms, choose the deployment type after which you will select optional packages.
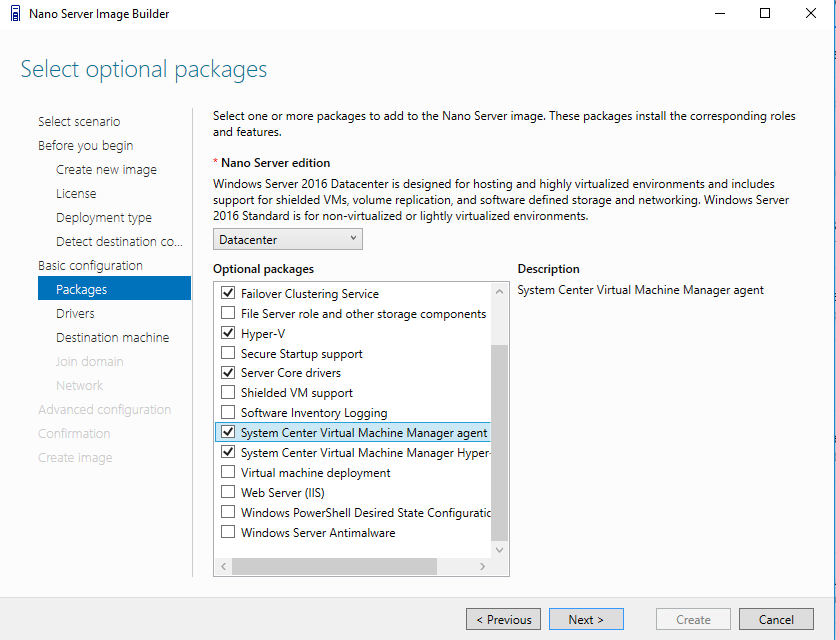
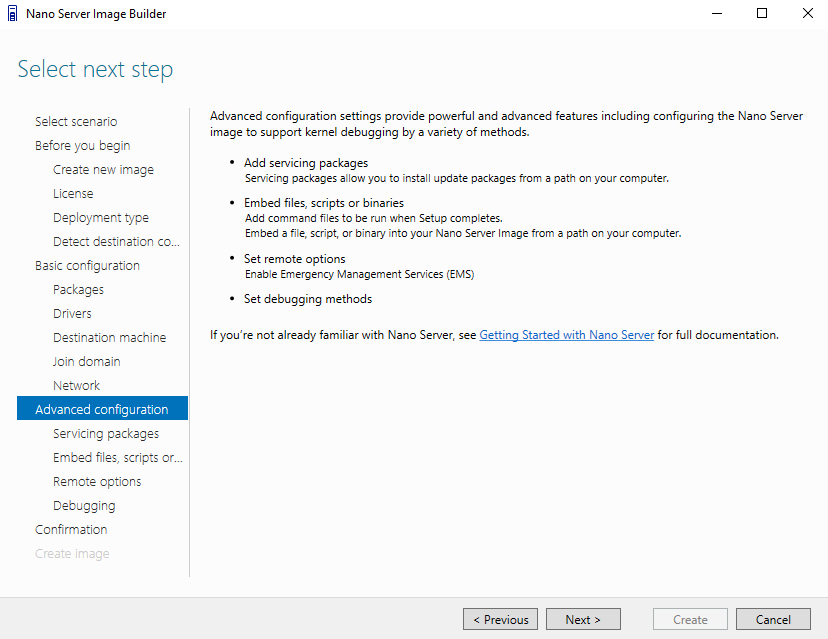
After you configure the packages, add drives, set the machine name,join it to domain and configure network settings you have some advanced configuration options.
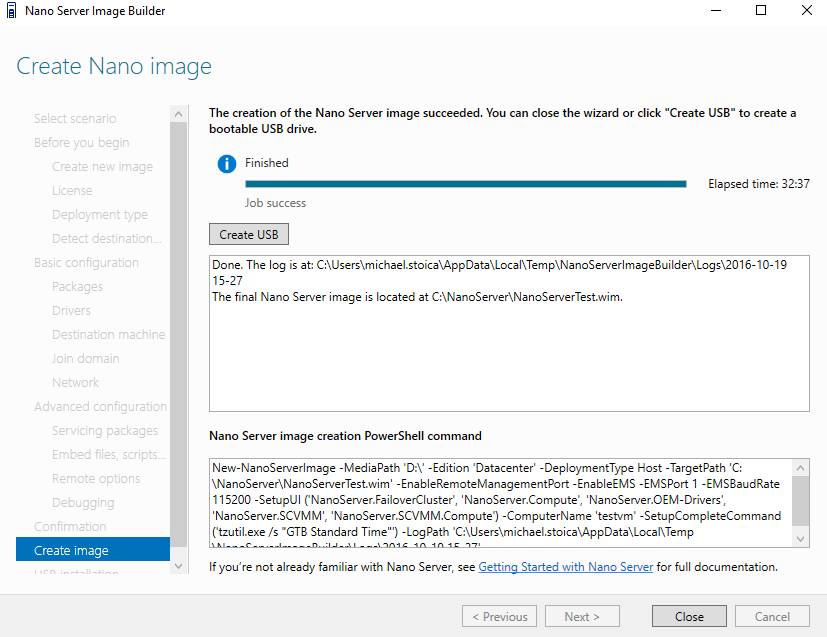
You can copy the Powershell script and use it in the future, but don’t forget to change the name of the machine.
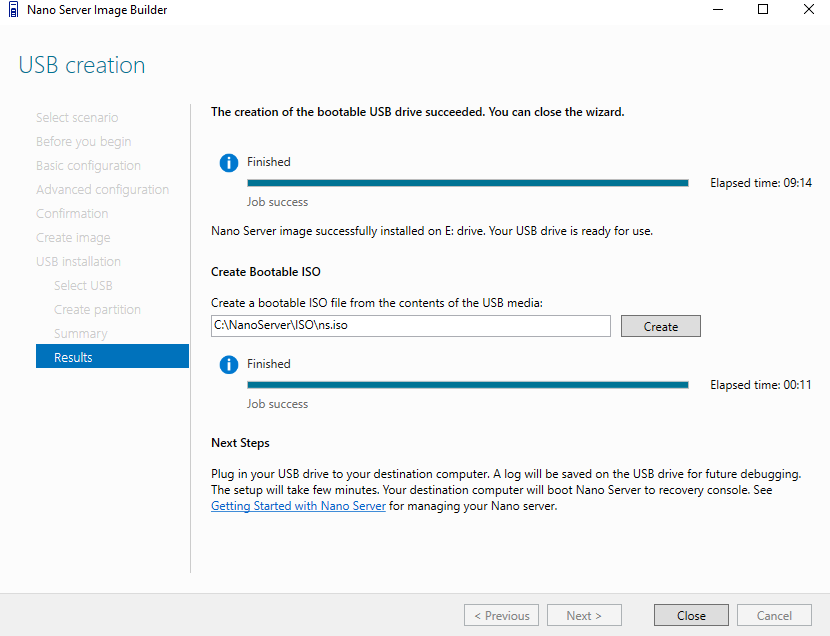
Now yo have the option to create a bootable USB drive and optionally a bootable ISO file
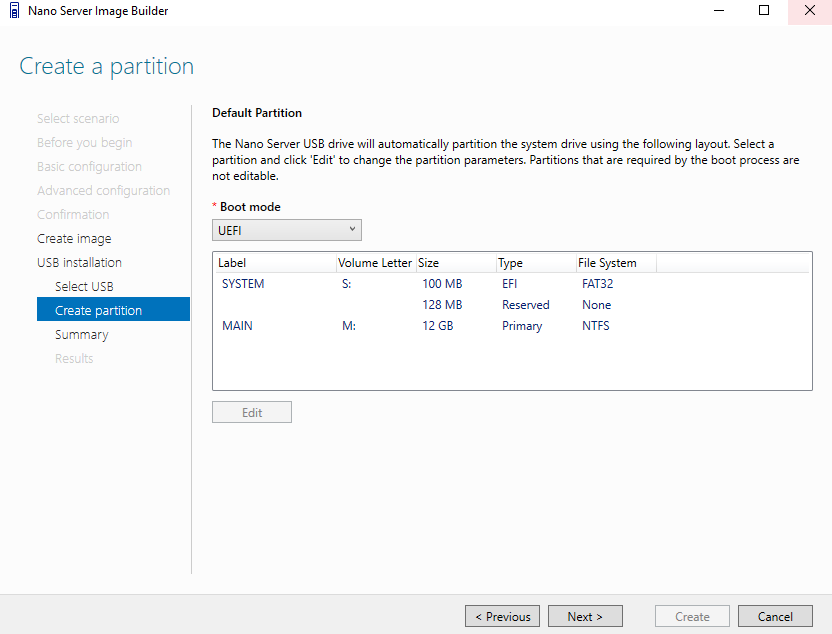
After the bootable USB is ready you can create an ISO.
If you want to read a more detailed article about Nano Image Server Builder check this article on Microsoft blog
Be First to Comment